How to Make a Baby Dress?
I have a baby girl. So I always try to dress her up like a doll, just like my childhood. In my childhood, I was very fond of dolls, and I stitched many doll dresses by hand. I always cherish this memory, as I used to stitch dresses for my little sister, who is now grown up.
Now, I always think about how to make a dress for my baby that is unique and also comfortable and suitable for the weather. Recently, I made a dress for my baby using soft cotton with a floral print. I actually used designer fabric for making this dress. Making a baby dress can unleash your creativity, and besides, you can save money by making a dress yourself. I get many offers from my colleague to sew their baby’s dress. So it’s obvious that I have to sew so many dresses.
First of all,
You should choose a design according to the weather, such as in summer you can choose a sleeveless dress with cotton fabric, and in winter you can choose a nylon type fabric. As it’s currently summer, I chose cotton fabric with a sleeveless design. Always keep in mind that your handmade dress is more special than a store-bought one because it’s made with love.
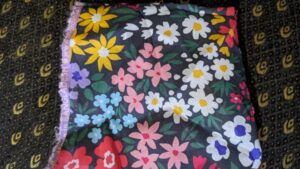
Here’s the fabric.
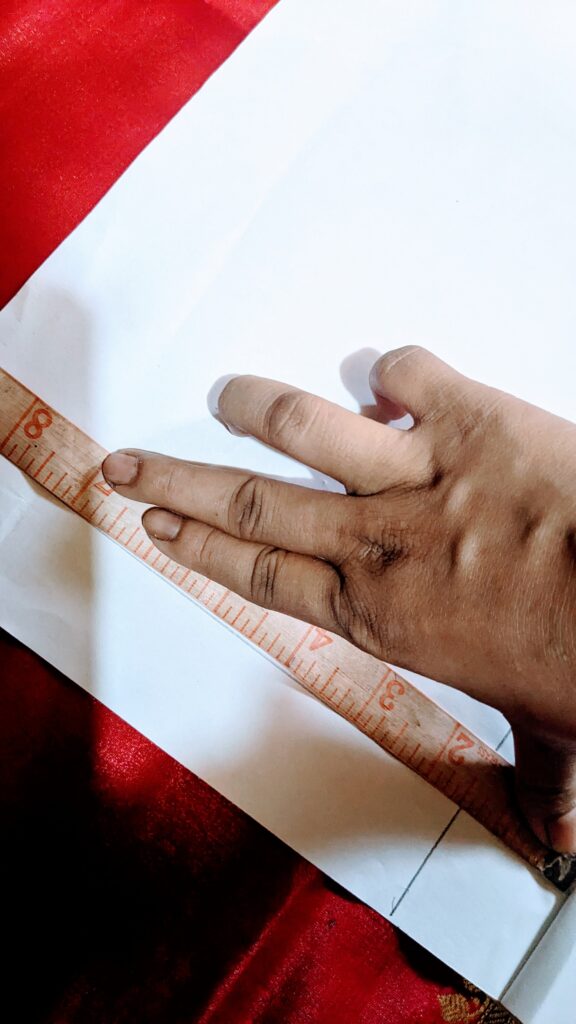
First, I took measurements from a dress that currently fits my baby. As as this picture,
I took measurements:
- Length: 24
- Neck: 2
- Shoulder: 4
- Armhole: 5
- Bust: 24
- Under bust: 22
- Waist: 23
- Hip: 24
Alternatively, you can take measurements directly from your baby’s body.

After taking body measurements, you have to add an extra 2-4 inches to the body size. For example, if you get 20 for the bust, you have to add 3, such as 20+3=23.
Then draw a pattern on paper with these measurements.
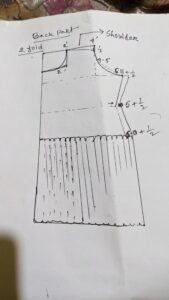
Next, I marked all the places on the paper according to the measurements and cut a sample paper.
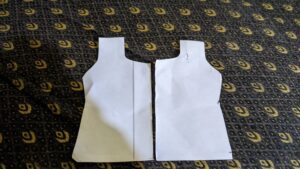
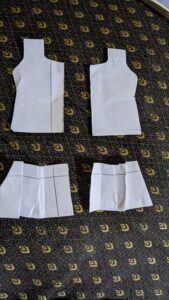
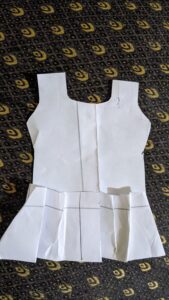
Then I placed those papers on the fabric and cut with scissors.
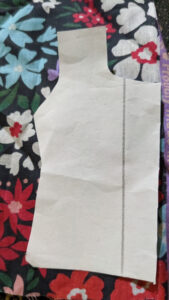
Alternatively, I could fold the fabric with double layers and use the measurements like this:
- Length: 24/4=6
- Neck: 4/2=2
- Shoulder: 8/2=4
- Armhole: 5
- Bust: 24/4=6
- Under bust: 22/4=
- Waist: 23/4=
- Hip: 24/4=6
I cut the cloth according to these measurements, which proved to be very accurate.
Then I simply stitched the parts by hand, and afterward, I used a sewing machine. I attached the parts with clips and sewed them with a machine. Since I have an electric machine, I used it, but anyone can stitch by hand. It’s not very difficult. I have added yellow-colored lace to make this dress more adorable.
Around the arm hole:
Wrapping lace around an armhole can be a beautiful way to add a delicate, feminine touch to a garment. Here’s a step-by-step guide to help you with the process:
- Measure the Armhole: First, measure the circumference of the armhole where I want to attach the lace.
- Cut the Lace: Cut a piece of lace trim that matches the length of the armhole. Keep a little extra length for overlapping or adjustments.
- Prepare the Fabric: I already sew this dress.
- Pin or Clip the Lace: Position the lace around the armhole, using pins or fabric clips to hold it in place. Make sure the lace is evenly distributed and that it aligns well with the edge of the armhole.
- Attach the Lace: You can use a needle and a thread or a sewing machine to sew the lace to the fabric. You can use a straight stitch or a zigzag stitch depending on the look you want. Start at one end of the lace and sew all around the armhole, making sure to keep the lace evenly aligned. If using a sewing machine, a narrow zigzag stitch can help accommodate the lace’s delicate nature.
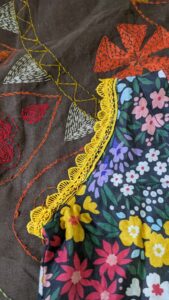
In the middle center:
Wrapping lace in the center of a dress can create a stunning focal point. Here’s how to do it step by step:
- Measure and Cut the Lace: Measure the length of lace needed to wrap around the desired area. Cut the lace, leaving a little extra for adjustments.
- Pin the Lace in Place: Position the lace around the chosen area, using pins or fabric clips to hold it in place. Make sure it’s evenly distributed and looks balanced.
- Attach the Lace: Use a needle and thread or a sewing machine to sew the lace to the fabric. A straight stitch or zigzag stitch can work well. Start at one end and sew along the edges of the lace, securing it to the dress.
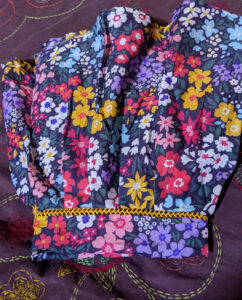

Add lace in the center of the bust: Adding lace to the center of the bust can create a lovely, eye-catching detail.
Here’s the final output that I made.
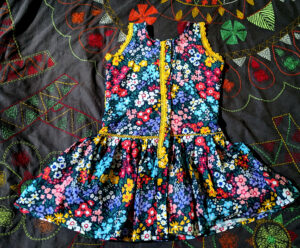
When I show this dress, my baby’s eyes widen with wonder, a big smile spreading across her face, and tiny hands clapping with excitement. Her excitement was expressed through a joyful giggle as she saw the new dress. She tried to touch it; her expression was full of curiosity and delight. It’s a pure, unfiltered reaction that captures the joy of something new and special! My baby really loves this dress. And I help to wear it, my baby.

In the future, I will write about another design or another idea, and till then, always happy browsing.
Here’s my other blog for making baby dresses.

