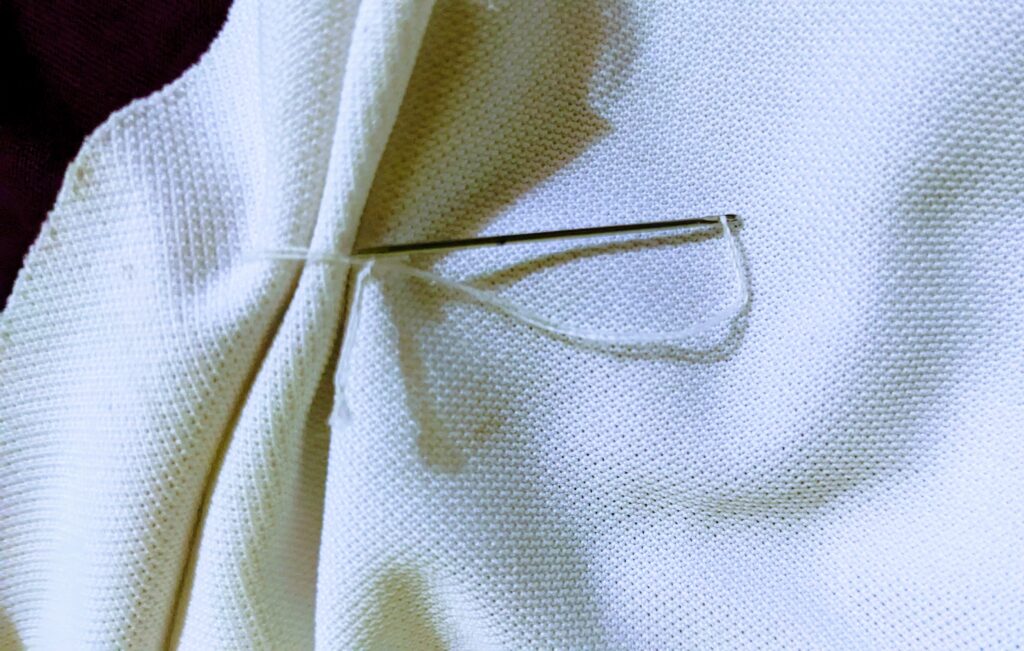
Easy cloth mask making Tutorial for the beginners!
Here’s a simple guide to making a cloth mask:
- Materials you’ll need:
- Cotton fabric (preferably tightly woven)
- Elastic bands or fabric ties
- Sewing machine or needle and thread
- Scissors
- Pins
- Optional: Filter material (such as coffee filters or vacuum bags)
Instructions:
- Cut fabric: Cut two rectangles of fabric, each measuring about 9×6 inches (23×15 cm). These dimensions can be adjusted based on your face size and preference.
- Fold fabric: Place the two pieces of fabric together with the “good” (patterned or outer) sides facing each other. Fold the fabric in half, so you have a 9×3 inch (23×7.5 cm) rectangle.
- Sew sides: Sew along the long edges of the rectangle, leaving the shorter edges open.
- Attach elastic or ties: If you’re using elastic bands, cut two pieces about 7 inches (18 cm) long. If using fabric ties, cut four strips about 18 inches (46 cm) long each. Attach one elastic band or tie to each corner of the mask, making sure they’re securely sewn in place.
- Fold and sew pleats: With the fabric still inside out, fold the sides of the mask inward to create pleats. Pin the pleats in place, then sew along the edges to secure them. Pleating helps the mask conform to your face better.
- Final touches: Trim any excess fabric and loose threads. Turn the mask right side out through the open end if you’ve left a filter pocket. Press the mask with an iron to flatten the seams and give it a neat appearance.
- Wear and adjust: Put on the mask and adjust the elastic bands or ties so that it fits snugly but comfortably over your nose and mouth. Make sure the mask covers both areas fully without any gaps.
Remember to wash your cloth mask regularly, ideally after each use, using hot water and detergent. This helps keep it clean and hygienic. And always practice proper hand hygiene before and after handling your mask!


