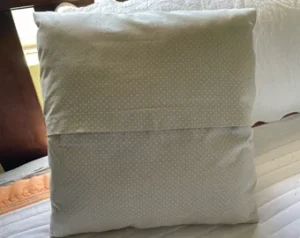
Easy Envelope Pillow Cover Making!
Making a pillowcase is a fun and straightforward project. Here’s a basic guide to get you started:
- Measurements: Determine the size of your pillow and add seam allowances. For example, if your pillow is 18 inches square, you might add 1 inch to each side for seam allowances, making your fabric pieces 20 inches square.
- Fabric Selection: Choose a fabric that complements your decor and is suitable for the intended use of the pillow. Cotton, linen, and polyester blends are popular choices for pillow covers.
- Cutting Fabric: Use your measurements to cut two identical pieces of fabric for the front and back of the pillow cover. If you want a decorative touch, you can use contrasting fabrics or add trims.

- Pinning: Place the fabric on the table, and if your hand and fabric are trembling, then use a pin.
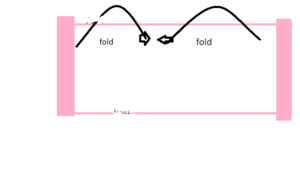
- Folding: After cutting fabric, you have to fold both sides of the fabric.


- Sewing: Using a sewing machine or hand stitching, sew around three sides of the fabric pieces, leaving one side open for inserting the pillow. Use a straight stitch and backstitch at the beginning and end to secure the seams.
- Finishing: Trim any excess fabric and clip the corners diagonally to reduce bulk. This will help the corners look crisp.
- Inserting Pillow: Insert your pillow form or stuffing through the opening. Ensure it fills the cover evenly.

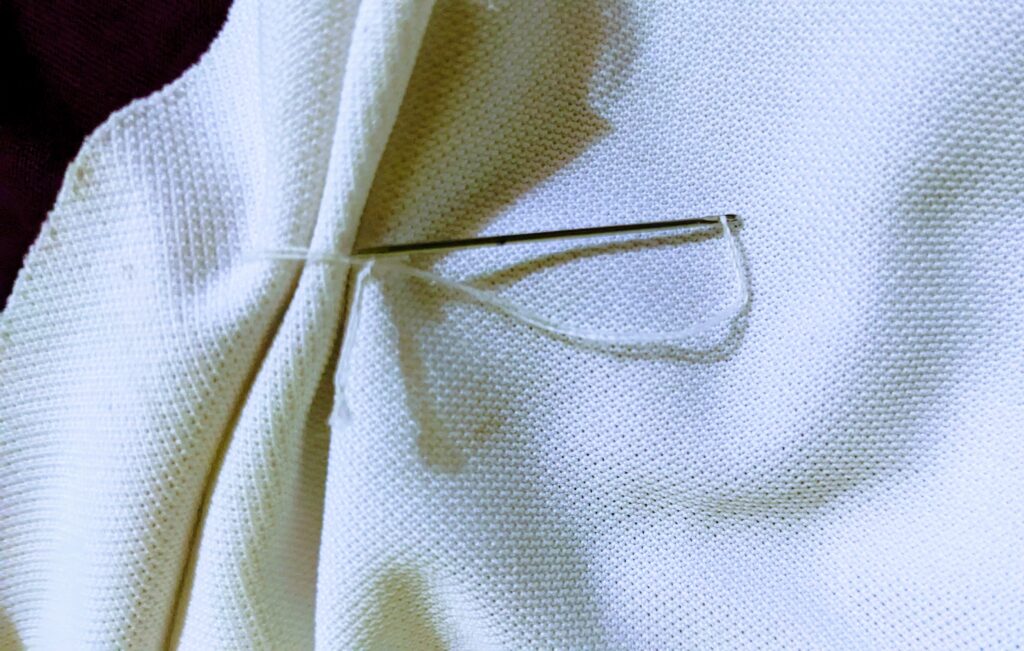
- Closing Opening: Fold the raw edges of the opening inside and pin them closed. Use a slip stitch or a ladder stitch to hand sew the opening closed neatly.
- Final Touches: Give your pillow cover a final press with an iron to smooth out any wrinkles and ensure a polished look.
And there you have it—a custom-made envelope pillow cover ready to add a personal touch to your space! Feel free to customize your pillow covers with embellishments like embroidery, appliqué, or decorative trims for extra flair. Let me know if you have any questions about pillow sewing.


