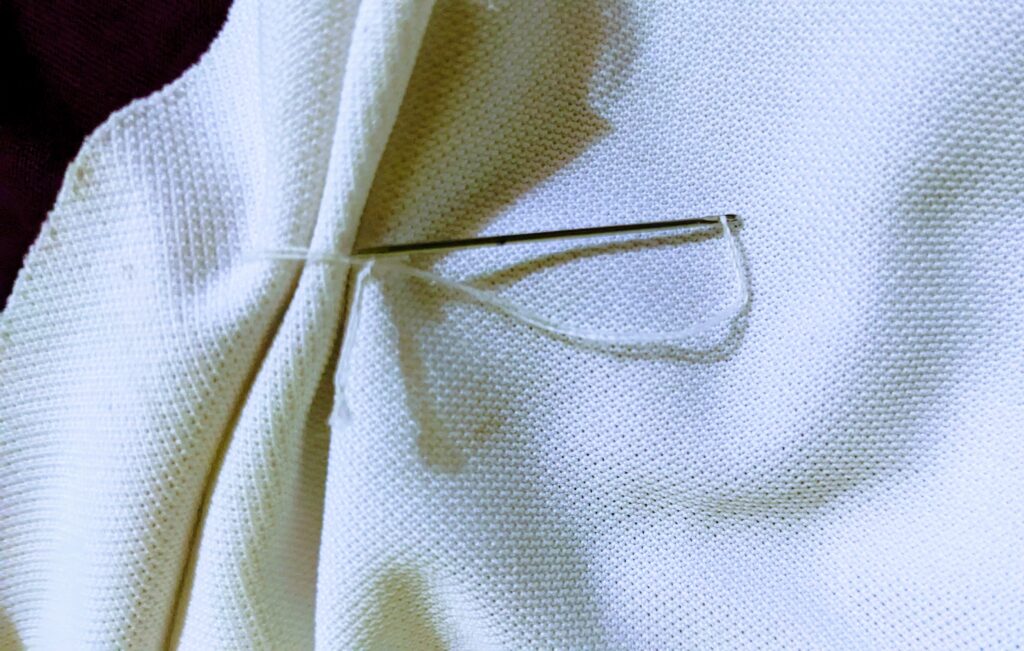
Blouse Making Course Is Here!
I have committed to all that I will release a course for the essential tutorial of making clothes. Blouses are very important, especially in Asian countries. If you wear a Saree or gown or skirt , blouse is important, its another name is top. But the blouse has a special cutting step which is different from Tops cutting.
Making a blouse typically involves several steps. Every steps are important.SO don’t skip a step. Here’s the outline of the process:
- Measurement your body:
When you prepare to make a blouse, you first take measurements from a cloth which is well fitted to you. So, You have to follow to take measurements for your blouse length. Then take measurement under the armhole.
It’s called bust .Then you can take your waistline measurement. Measure your hand length. Its up to you how long you want to make. Neckline measurement is also important to cut a blouse. Here’s the measurement which I took from my old blouse.
Here’s the measurement list:
Those measurements are marked with inches.
Blouse length: 16
Shoulder: 13.5
Front neck: 6
Back neck: 5
Bust: 34
Waist:28
Armhole:6.5
Sleeve long: 11
Sleeve Width:9
- Pattern Selection or Drafting:
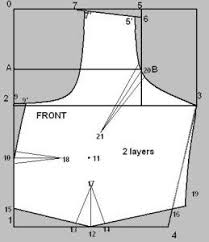
- Choose a blouse pattern that suits your style and measurements. Alternatively, you can draft your own pattern based on your measurements and design preferences. Today I selected a basic pattern.
- Fabric Selection and Preparation:
- Select a suitable fabric for your blouse. Consider factors like drape, weight, and texture based on the style of blouse you want. Now I will make it with a cotton fabric.
- Cutting the Fabric:
- Lay out your pattern pieces on the fabric according to the instructions.
- Pin the pattern pieces to the fabric and carefully cut around them, ensuring accuracy and neat edges.
Tips: Wash and iron the fabric before cutting to pre-shrink it and remove any wrinkles.
Marking and cutting steps:
Back Part:
- Fold One time your fabric , at
 first mark height with borderline extra 1 inch cloth for sewing. Its your back part.
- Shoulder : you divide your shoulder measurement with 2. And mark it with 6.25 .
- In the back part , my neck will be 5 inches, so I mark it up to 5.
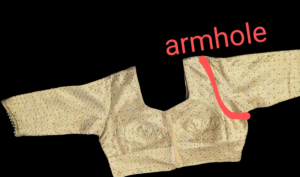
- From up to 6.5 inches you have to mark the armhole, its point is the shoulder endpoint. Draw a line with this mark. And draw a shape for the armhole.
- Divide with 4 your bust measurement and it will be 8.5 inches. You mark the width with 8.5.
- Waist measurement divides 4 and marks in 7 .
- Add a line with the marks.
- Take 4 inches to make the fitting line from the bottomline.it will raise 5 inches.
- Cut the fabric with this mark to keep 1 inch extra for sewing.
1.now fold your fabric 1 time. And put your back part up to the fabric and mark this size with an extra 1 inch. 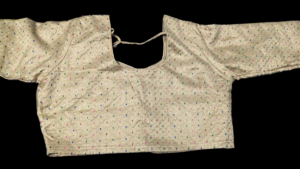
- Mark the neck area 6 inches high.
Front part bust shaping: at first you go from up to 9 inches to the center point. then make a mark with 4 widths from the block side. It’s a point, you need 4 points, from center to armhole shape to mark a point with 2.5 inches. Mark 3rd point from center to bottom-left side it’s also 2.5 inches. Yes we get 4 points. You can give a shape that looks round.
- Take long and wide.
- From up to 3 to make a cover for the armhole.
- Mark 7 inches in the width
- You have to keep 1 inch for sewing.
- Sewing the Blouse:
- Follow the sewing instructions provided with your pattern or based on your design.
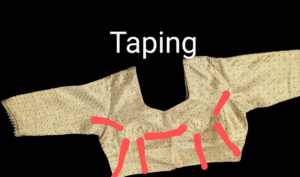
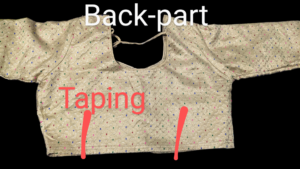
back part: - Sew the taking part in the following style.
- Front part:
- Sew the taping part and make a shape .
- Follow the sewing instructions provided with your pattern or based on your design.
- Shoulder : Start by sewing the shoulder seams together, followed by the side seams. It required double stitching.
- Add 2 sides according to the marking line.
Sew sleeve: sew sleeve . Attach any sleeves according to the pattern instructions line.
- Hem the bottom of the blouse, sleeves, and neckline.
- Adding Details:
- If your blouse design includes details like buttons, zippers, attach these. Here I use buttons. So, I cut the front part center and added 4 inches fabric for the button border. In another part I add 3 inches fabric and fold and make a cover and cut the cut for the button.
- Adding button: I use normal button
- Adding button hole: I used blanket stitch for making button hole.
- Finish any raw edges with a serger or a zigzag stitch to prevent fraying.
- Final Finishing:
- Press the seams and any hems to ensure a crisp finish.
- Try on the blouse to check the fit and make any necessary adjustments.
- Completion:
- Once you are satisfied with the fit and finish, your blouse is ready to wear!
Each step requires attention to detail, especially when cutting and sewing to ensure the blouse fits well and looks professionally made.

