Cutting a pair of long pants (trousers) is not a very tough task. It’s a very easy process which only requires several steps to ensure its accuracy and proper fit. Here’s a general guide on how to cut pants from fabric:
Materials Needed:
1.Fabric: Choose fabric suitable for pants, such as cotton, denim, or a blend.
2.To Take the measurement:
To make a pant you have to take the measurement from your body or a trouser which is fitted well to you. can write down the exact measurements on it which you get from your old one.
- Pattern or Measurements: Use a commercial pattern or measurements tailored to the wearer.
- Sewing Supplies: Scissors, pins, measuring tape, chalk or fabric marker, sewing machine (or needle and thread if hand-sewing).
Steps to Cut Long Pants:
1. Prepare Your Pattern or Measurements:
- If using a pattern, carefully cut out the pattern pieces according to the size needed.
- If using measurements, you will need to create your own pattern pieces based on these measurements.

Here’s the measurement list:
Those measurements are marked with inches.
trouser length: 35
waist:13*4
Hip high : 14
Bottom loose: 14
2. Lay Out and Pin Your Fabric:
- Lay your fabric on a flat surface
- If fabric has any wrinkle, you can iron it to ensure accurate cutting.
- Fold the fabric in half lengthwise, aligning selvages (finished edges) together.
3. Place and Pin Your Pattern Pieces:

- Place the pattern pieces onto the fabric according to the layout instructions provided with your pattern or based on your measurements.
- Pin the pattern pieces securely to the fabric to prevent shifting during cutting.
4. Mark and Cut the Fabric:
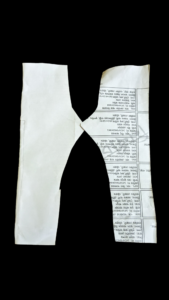
Mark Waistline: I have taken a measurement of 52, so divide and mark with 13.Because, We can get 4 parts, that means. Every cutting fabric will fold one time.
Mark highline: From waistline to 14 I mark high line. I will add 2.5 for making a curve there. I always keep 2.5 inches more than waist measurement.
Mark leg bottom line: i take 14 and divide it with 2, and mark 7. Because I don’t want too much loose .
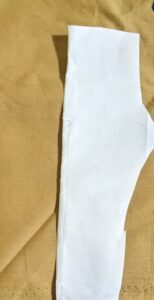
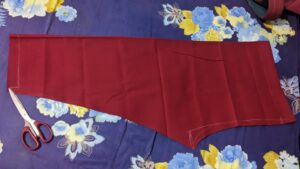
Draw cutting line and sewing line: from high edge to leg edge, i will draw 2 lines, one for cutting and another for sewing.
So finish my marking.
5. Cut Out the Pieces:
- Carefully cut along the traced lines to cut out each pattern piece. Take your time to ensure smooth and even cuts, especially around curves and corners.
7. Finish Edges (optional):
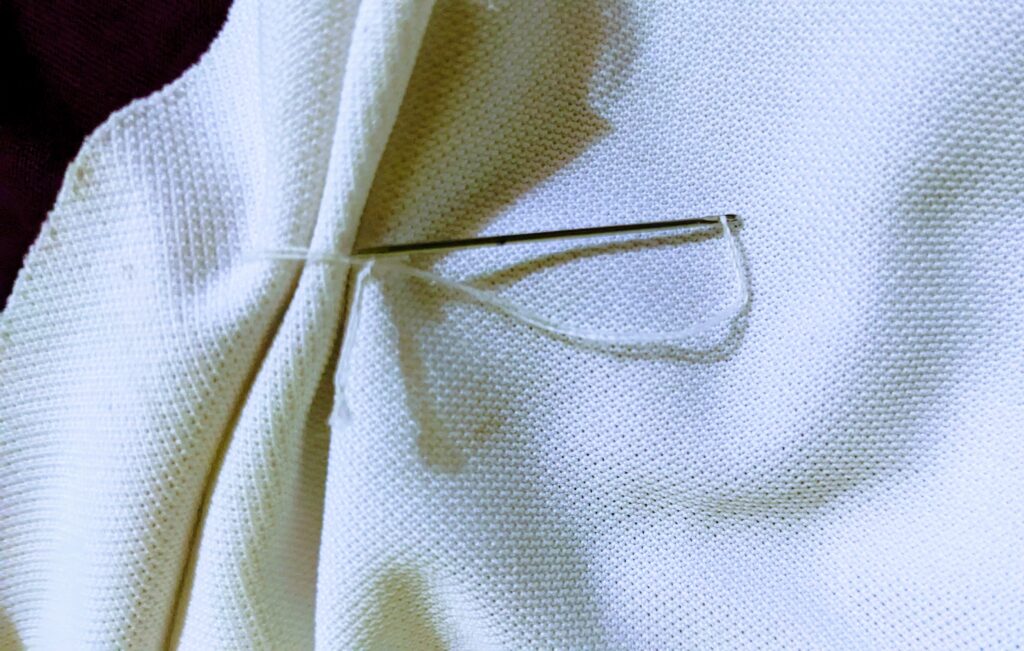
- If desired, finish the raw edges of the fabric pieces with a zigzag stitch, or a clean edge stitch to prevent fraying.
Tips:
- Follow Pattern Instructions: If using a commercial pattern, carefully follow the instructions provided with the pattern for cutting and assembly.
- Check Measurements: Double-check your measurements before cutting to ensure a proper fit.
- Consider Seam Allowance: Most patterns include seam allowance, typically around ½ inch to ⅝ inch. Ensure you cut accurately around these allowances.
- Test Fit: If possible, make a test garment to check the fit before cutting into your final fabric.
By following these steps, you should be able to cut out a pair of long pants accurately and prepare them for sewing. Enjoy creating your pants!
I have made a vlog for your better learning. So watch this video and feel free to ask anything.
Happy stitching.


