How to Sew by Hand: Some Basic Stitches
Stitching is like fun; it can be a pastime for a person. I think every pastime is important, so stitching is. But it can be useful at your home in many ways, like making normal clothing alterations or fixing torn fabric. Or you can take it as a professional skill. It has all-time values from ancient times to today’s world. But all of us don’t know how to stitch, what the stitch name is, and what those are used for. Now I am going to give you a detailed idea of stitching.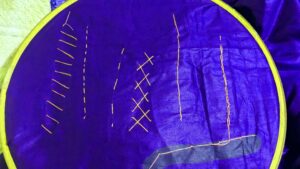
Let’s start.
Materials need:
- Hand-sewing thread
- Hand sewing needle
- Fabric
- Scissors
- Frame
Now I am going to show you seven basic stitches, which will be very helpful for you.
There are basic steps which will follow every types of stitch.
The most common basic hand stitches are
- Running Stitch
- Running Baste Stitch
- Catch Stitch or cross stitch
- lazy daisy stitch
- Whip Stitch
- Slip Stitch/Ladder Stitch
- Back Stitch
- Chain stitch
- Blanket Stitch
Running Stitch:
It’s the most basic stitch. I think everyone can learn this stitch easily; it looks very simple, but it can make a very nice project. So you can start to stitch with this and make a project for you or your beloved one.
How to Sew Running Baste Stitch:
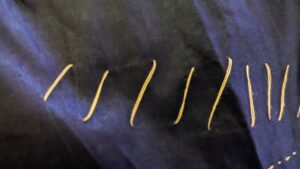
It’s like running stitch, but when you have to add to fabric temporarily and you have to remove thread after finishing your project, then you can use it; it’s very easy and faster to sew. Basically, making ‘’Nakshi kantha’’ is used more.
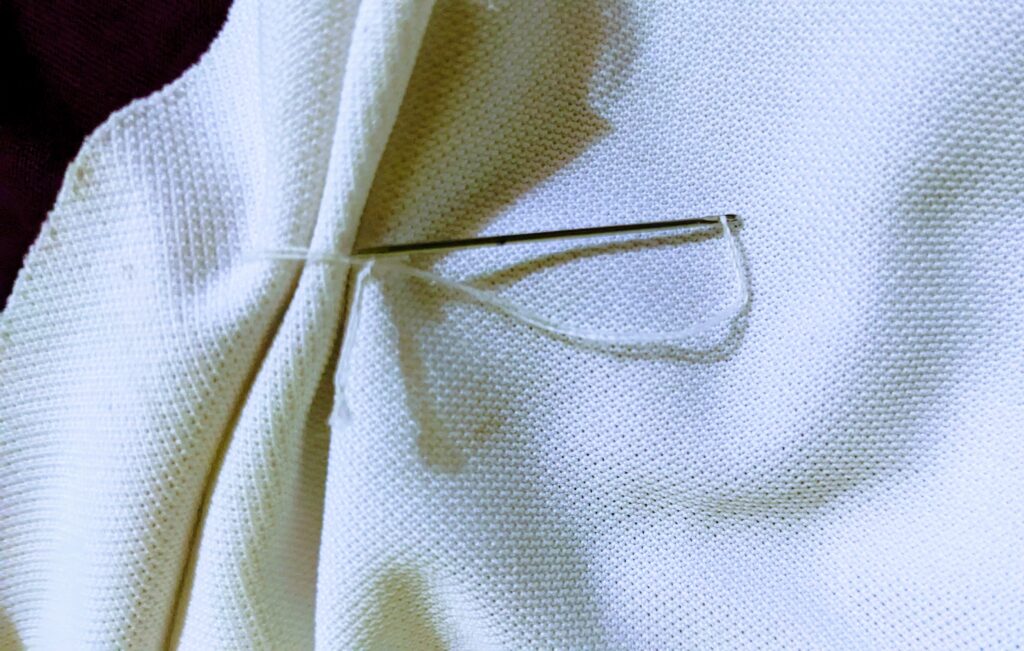
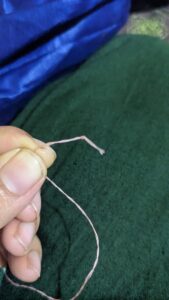
When you start a stitch, firstly, tie a knot at the end of the thread.
Then take the specific fabric and start to stitch like this and pull the thread. when you have to end the sew, then make a knot and cut the thread.
How to Sew Cross or Catch Stitch
Its also easy to sew.
Steps:
- Thread your needle: Cut a piece of thread. You can take any for learning purpose.
- Prepare your fabric: Fold the fabric edge over to create a hem. You can iron it down if necessary to keep it in flat.
- Start from the back: Insert your needle from the backside of the fabric, bringing it up through the fold of the hem. This hides the knot of the thread.
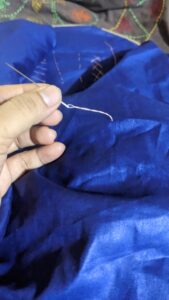
- First stitch (cross stitch): Take a small stitch to the right or left along the hem, then bring the needle back up directly across from where you started, creating a tiny “X” shape on the fabric. This is your first cross stitch. Look, its like a picture.
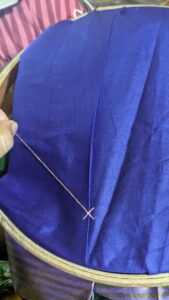
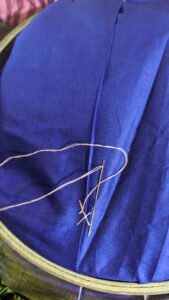 Continue stitching: For a cross stitch, repeat step 4, alternating sides with each stitch, creating a series of
-
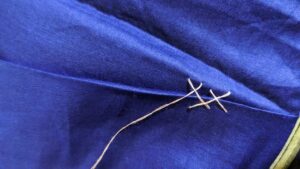
- diagonal stitches along the hem. Each stitch should be of equal length.
-
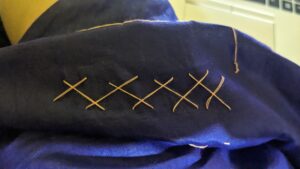
- End of the row: When you reach the end of the row, take a small stitch on the wrong side of the fabric to secure the last cross stitch.
- End of the row: When you reach the end of the row, take a small stitch on the wrong side of the fabric to secure the last catch stitch.
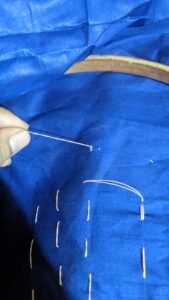
wrong side of the fabric, for securing your stitch, make a knot. - Finishing: Tie off the thread with a knot on the wrong side of the fabric and trim any excess thread.
Tips:
- Practice on scrap fabric first to get the hang of the technique.
- Keep your stitches small and even for a professional-looking finish.
- Use thread that matches your fabric for a seamless look.
- Press your finished seam with an iron to set the stitches and create a crisp edge.
Ladder stitch
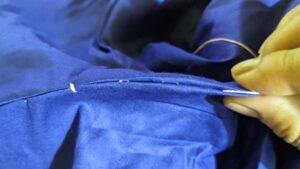
It’s very useful homemade pillows or any cover where we have to stitch from the front side but thread will be least visible.
Here’s the step below: You have two edge of fabrics.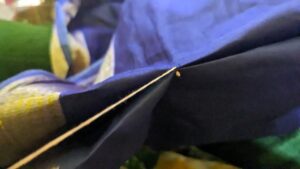
-
- Start at one end: Insert your needle into the fold of one fabric piece, hiding the knot inside the fold. Bring the needle out at the edge of the fabric.
- Make a stitch: Take a small stitch on the opposite fabric piece, directly across from where your needle emerged. Pull the thread taut, but not tight enough to shrink the fabric.
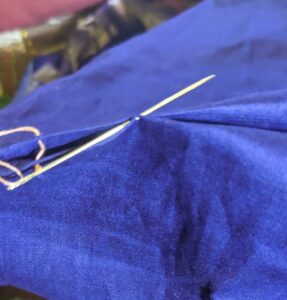
- Move along the seam. Insert the needle back into the fold of the first fabric piece.
- about 1/8 inch away from the first stitch. Bring it out again on the opposite fabric piece, directly across from where your needle emerged.
- Continue stitching: Repeat step 5, making sure to keep your stitches evenly spaced and consistent in size. The stitches should resemble the rungs of a ladder, hence the name “ladder stitch.”
- Closing the opening: As you stitch along, periodically pull the thread tight to close the opening. Be careful not to pull too tightly, as this can cause puckering.
- Finishing the seam: When you reach the end of the opening, make a couple of small stitches on the same spot to secure the thread. Knot the thread and weave it into the fabric to hide the tail.
- Press the seam: Once you’ve finished stitching, press the seam with an iron to set the stitches and create a smooth finish.
Tips:
- Use a thread color that matches your fabric to make the stitches less visible.
- Practice the ladder stitch on scrap fabric first to get the hang of it.
- Take your time and make small, even stitches for the best results.
- Be patient, as the ladder stitch can be a bit finicky at first, but with practice, you’ll master it!
Back stitch
Steps:
- Thread your needle: Cut a piece of thread and thread it through the eye of your needle. Knot the end of the thread.
- Prepare your fabric: Align the edges of the fabric pieces you want to stitch together with the right sides facing each other. You can use pins to hold the fabric in place if needed.
- Start at the beginning: Insert your needle into the fabric from the wrong side, bringing it out at the starting point of your seam. This hides the knot inside the fabric.
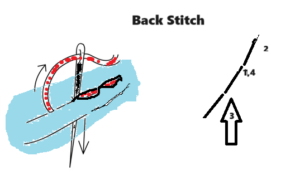
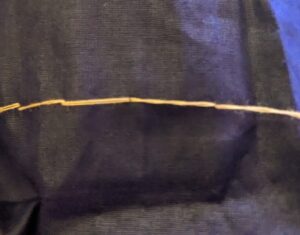
- First stitch: Take a small stitch forward, about 1/8 inch in length. Bring the needle back down into the fabric, but this time, bring it out slightly ahead of the starting point, about the same distance as the length of your first stitch.
- Second stitch: Now, bring the needle back up through the fabric at the end of your first stitch, creating a backward stitch that overlaps the end of the first stitch.
- Continue stitching: Repeat steps 4 and 5, alternating between a forward stitch and a backward stitch. Each backward stitch should start where the previous forward stitch ended, creating a continuous line of stitches.
- Maintain tension: As you stitch, make sure to maintain even tension on the thread. The stitches should be snug but not too tight, as this can cause the fabric to pucker.
- End of the seam: When you reach the end of your seam, take a couple of extra stitches in place to secure the thread. Knot the thread and weave it into the fabric to hide the tail.
- Press the seam: Once you’ve finished stitching, press the seam with an iron to set the stitches and create a smooth finish.
Tips:
- Use a thread color that matches your fabric for a seamless look.
- Practice the backstitch on scrap fabric first to get the hang of it.
- Take your time and make each stitch as even as possible for the best results.
- The backstitch is versatile and can be used for both decorative and functional seams in your sewing projects.
Here’s a video for practicing stitches. I hope you will enjoy it. Happy stitching.

