Long Pant (pajama pant) Cutting Technique:
Pajama pants are very comfortable for walking, sleeping or fashioning with your shirt, top or long dress. If you keep reading and watching all my photos and videos , I think it will be very helpful for making pajama pants for you.
Materials requirements:
For making a pajama pant,
Marker
Ruler
Strap
Measurement:
Long-36
Waist-40
knee-18
bottom border-12
Steps:
You have to fold 1 time for cutting the front part. You have an open side and also a close side; you have to cut in the open side. Or you can cut as you wish; it will not affect much.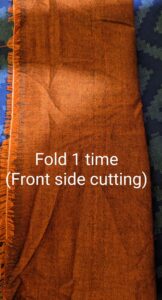
Step1:
Mark waist elastic area: at first mark up to 3 inches from.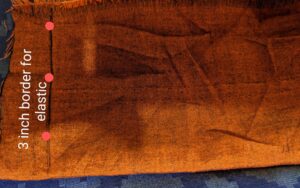
Then 36 inches long goes much lower. And add an extra 2 inches for stitching and pant border.
Draw a straight line to this mark.
Waist mark: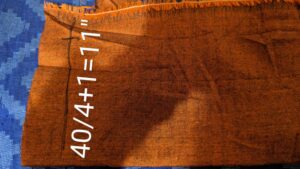
From the waist elastic border, you have to mark waist point. If its 40, then you use 40/4+1=11 inch for your waist line border and draw it. This measurement is also used for hip height point.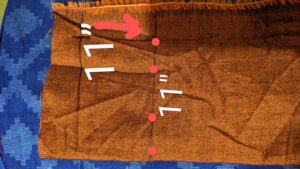
Draw this longitude and latitude line. For the curving line, you have to add an extra 2.5 inches. And draw a curve shape. The latitude line would be 13.5.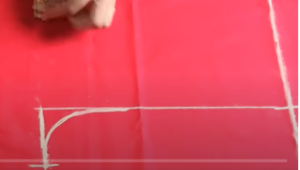
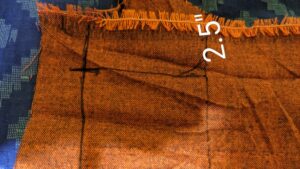
For making its center line, you have to cut it in half, which means 13.5/2=6.7 inches would be the center.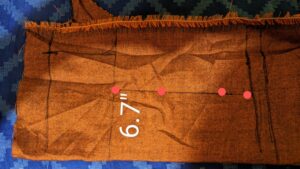
This 6.7 inch also marks in the bottom line of the pant. Then add 2 marks.
Pant feet border:
How loose or fit your pajama will be? If you ask mine, I will tell you it will be medium and 12 inches, so half the size and mark from the center point.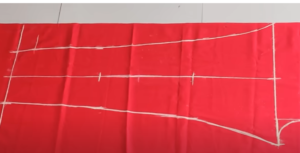
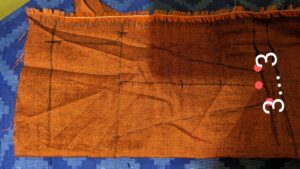
Then add a high point mark to the foot mark, and you will get a curve line.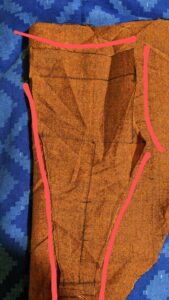
If you have a shape ruler, it will be very good to draw this line.
Left part: if you don’t have a curve ruler, then measure the center line and divide it by 3 and draw 3 separate lines.
And mark from feet to +half and feet to +1.5, respectively.
Then draw this line.
Cutting process:
cutting your line according to drawing.
You will get two separate front parts.
Back part:
You place the leftover cloth for marking and cutting back part.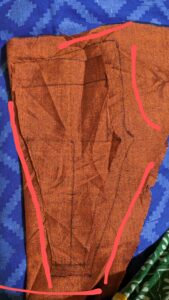
For cutting the back part, keep the front part upon the back one. When you place your front part, you have to keep extra fabric for the right and upper sides.
In the high part, you have to add extra 2.5 inch , and it will be total 16 inch
Add 2.5 inches for the right side; you have to add 2 inches all over the right side.
Waist are: beside keeping fabric in the right side, you have to keep extra 2.5 in the upper side.
Add a new shape line for your back part on the right side.
Add this point with the waistline.
So it’s your cutting pants ready to sew.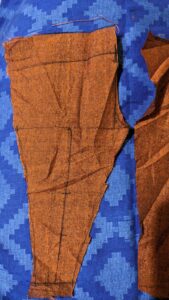
Stitching:
Add high part: at first, you have to add high part,
Left and right side,
Add right side and left side
Then and
Sew feed border:
Stitch line:
Waist border with elastic. I have shown you those step with a video. Here you go.
Happy tailoring.


