Sewing Steps for Wrist Pin Cushion
We all who are related to the sewing world, we have to need pins for the primary step in sewing. So, a wrist pin cushion is really a great item for a tailor. Creating a wrist pin cushion is a very simple and enjoyable sewing project. Here’s a step-by-step guide to help you make one:
Materials Needed: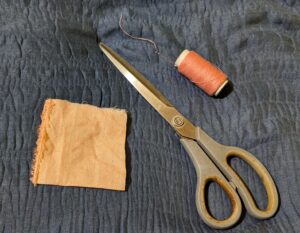
- Fabric (cotton)
- Scissor
- Sewing machine or needle and thread
- Pins
- Wristband (you can use elastic or fabric to make one)
- Stuffing material (like polyester fiberfill)
- Sewing pattern (optional)
Steps:
- Cutting the Fabric:
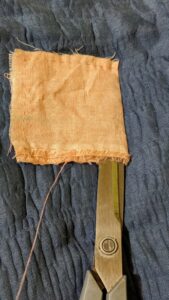
- Use your chosen fabric to cut square size, approximately 3-4 inches in diameter. You can use a pattern if you have one. Here I cut the square shape.
- Prepare the Wristband:
- If you’re making your wristband, cut a strip of fabric or elastic long enough to comfortably fit around your wrist with a little extra for overlap. But I use a readymade band which is basically used for hair tying.
- Sew the cushion:
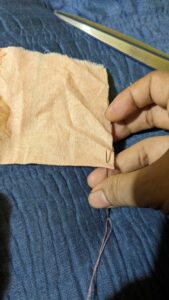
- Start sewing from the opposite site.
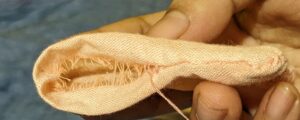
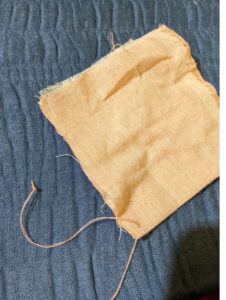 make a knot in the inserting point. Sew around the edge of the fabric square. I use running stitch for sewing this cushion. Leave a small opening (about an inch wide) along the edge for turning and stuffing materials.
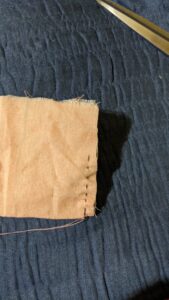
- Stuff the Pin Cushion:
- Closing the Opening:
- Once the pin cushion is filled, hand stitch or use a sewing machine to close the opening securely. I use hand stitch, here’s ladder stitch is perfect for closing this.
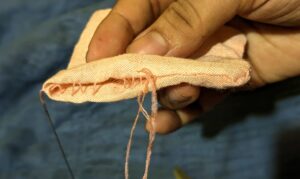 Finishing Touches:
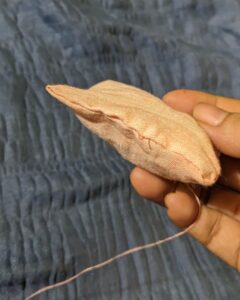
- Trim any excess threads and give your pin cushion a final fluff.
6.Sew the wristband with cushion: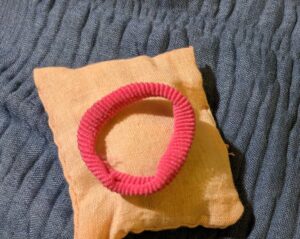
sew wrist band with cushion tightly.
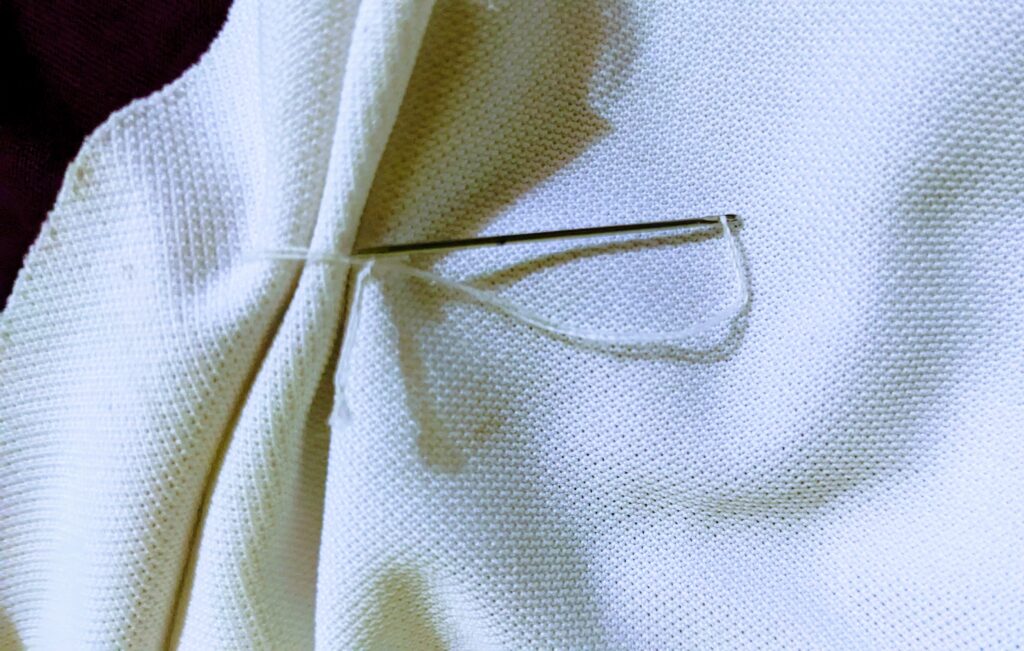
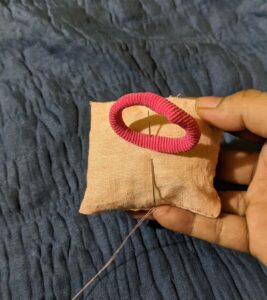 insert needle with cushion and band together.
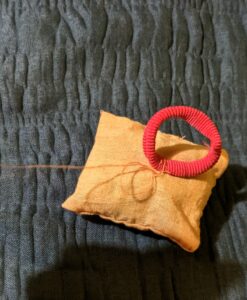
sew band and cushion tightly. Don’t forget to make a knot after finish in your work , and it will secure your hard work.
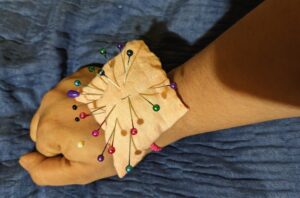
Now, slip your new wrist pin cushion onto your wrist, and you’re ready to tackle your next sewing project with ease! Happy stitching!

